The Smart Landlord

Welcoming a new tenant into your rental property is more than just passing over a set of keys and collecting the first month’s rent. It represents the official start of a legal, financial, and interpersonal relationship that could last for years. For independent landlords and seasoned property management companies alike, the transition period between an outgoing tenant and a new occupant is one of the most critical windows of risk management.
Failing to systematically prepare your property or thoroughly document its baseline condition can lead to an array of expensive headaches. From prolonged security deposit disputes to unexpected fair housing violations and costly structural maintenance, the stakes are remarkably high. According to data tracking from the National Apartment Association, turn costs and unmitigated property damage remain two of the largest operational leaks for real estate investors.
To protect your investment, maintain compliance with local ordinances, and establish an immediate standard of professionalism with your incoming resident, you need a comprehensive, bulletproof framework. This master move-in checklist outlines every vital action a landlord must execute before, during, and immediately after a new tenant crosses the threshold.

Phase 1: Legal & Financial Prerequisites
Before handing over keys, a landlord must ensure a state-specific lease is signed by all adult occupants and avoid generic templates that ignore local regulations. Additionally, always collect the security deposit and first month's rent via guaranteed, cleared funds—like a cashier's check or money order—to eliminate the eviction risks tied to personal checks. Finally, verify that renter’s insurance is active by securing the policy’s Declaration Page with your name listed as an "Additional Interest," ensuring you are automatically notified of any mid-lease cancellations.

Industry Stat
Legal surveys indicate that over 65% of security deposit disputes in small claims court are decided in favor of the tenant due to a lack of detailed, contemporaneous move-in condition reports and clear proof of initial financial transactions.
Phase 2: The Physical Property Prep & "Habitability" Audit
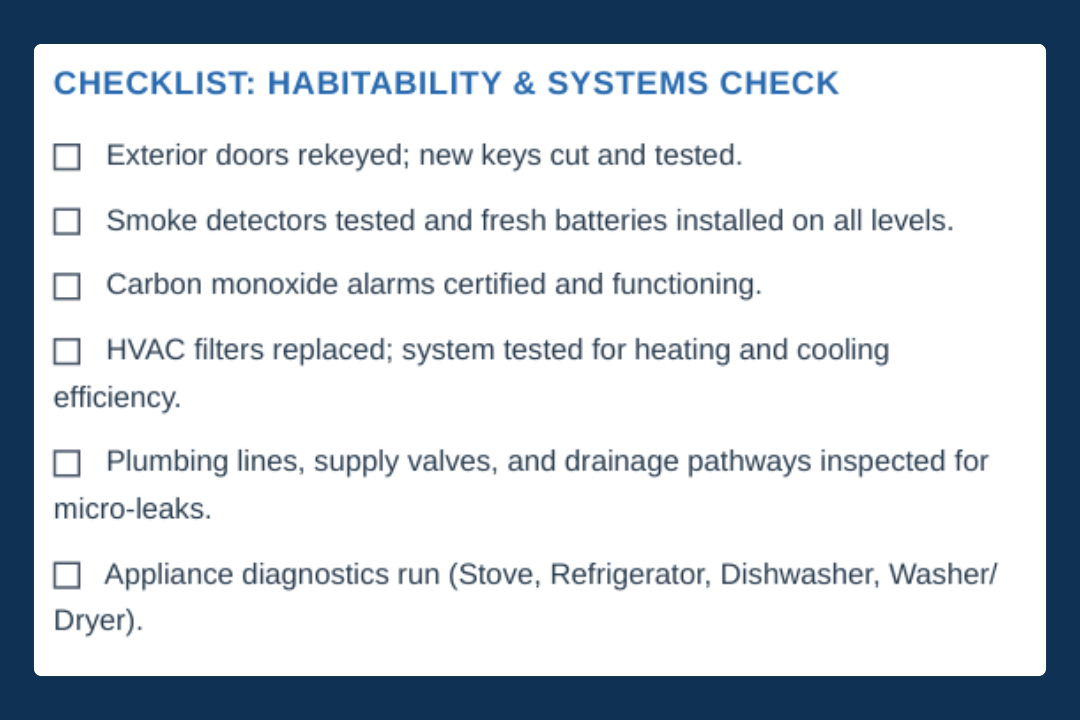
Under the implied warranty of habitability, landlords have a strict legal responsibility to provide a safe, sanitary, and functional home. Utilizing a structured property management framework like NEREM (The Fletcher Group's property assessment process) can help make managing these essential transition tasks significantly easier. To ensure full compliance and property readiness, start by rekeying all exterior locks to eliminate liability from old keys, and replace HVAC filters while testing heating and cooling cycles. Additionally, run all plumbing fixtures to detect hidden leaks, verify that major appliances operate at proper temperatures, and install fresh batteries in all smoke and carbon monoxide detectors. Applying a systematic approach ensures you cover every vital security, environmental, and mechanical requirement without missing a step.
Phase 3: The Move-In Inspection & Photographic Documentation
The move-in inspection is the single most important barrier against security deposit disagreements. This walkthrough must be executed methodically, ideally side-by-side with the new tenant.
Do not generalize your inspection form with vague markers like "Good" or "Okay." Instead, utilize granular descriptive language (e.g., "three light scratches on the center laminate panel of the northern living room wall"). Take comprehensive, date-stamped photographs and video tours of every single room, including inside closets, drawers, and utility panels. Capture the exact condition of flooring, windowsills, and baseboards.
Provide the tenant with a copy of this Move-In Condition Report and afford them a legally mandated grace period (typically 3 to 7 days depending on jurisdiction) to discover and submit any hidden discrepancies they notice while settling in. Once finalized, both parties sign the addendum, binding it tightly to the lease document.
Phase 4: Welcome Materials and Utility Coordination
Transitioning the utilities is a frequent logistical bottleneck. Ensure your lease clearly dictates that utilities must be transferred into the tenant’s name as of the official lease start date. Contact your utility providers to confirm that "landlord continuous service agreements" are deactivated or transferred to avoid paying for the tenant's high-consumption move-in days.

Consistency Breeds Long-Term Success
Implementing a strict, unyielding protocol before a tenant moves in protects your financial bottom line, ensures your asset maintains its fundamental valuation, and builds a professional framework that commands mutual respect. When a tenant sees that a landlord treats the property with meticulous care, they are vastly more likely to treat the property with care themselves. Use this checklist for every single move-in, without fail, to maximize efficiency and minimize property turnover friction.
